
How to Diagnose Failing Ignition Coils? A rough idle, engine warning light or misfire under acceleration can clearly point towards a failing ignition coil - but it does not always confirm it.
How to Diagnose Failing Ignition Coils? Spark plugs, injectors, wiring faults, air leaks and mechanical engine problems can all produce similar symptoms. Replacing ignition coils based on guesswork can therefore become expensive without solving the underlying fault.
A structured diagnosis helps establish which cylinder is affected, whether the problem follows the ignition coil and whether another component is placing excessive strain on the ignition system.
This guide explains the ten main checks that our Mantis engineers recommend to investigate a suspected ignition-coil fault. It's a long read, but essential to get to the bottom of any poor running characteristics.
Important: Ignition systems generate very high voltages. Testing procedures should only be carried out by someone with the correct knowledge, tools and vehicle information. Never remove or disconnect ignition components while the engine is running unless the vehicle manufacturer’s approved procedure specifically permits it.
Start by identifying the symptoms
Here's the starting point. Before testing individual components, note exactly when the fault occurs.
Important details include:
- Whether the engine is cold or hot
- Whether the fault occurs at idle or under acceleration
- The engine speed at which it appears
- Whether it happens only at high load or boost
- Whether the engine warning light is steady or flashing
- Whether the fault is constant or intermittent
- Whether the car has recently been serviced, tuned or pressure washed
Armed with this information you can now start to distinguish between a coil that fails when hot, a spark-plug problem under load or an issue unrelated to the ignition system.
Read more: Eight common signs of a failing ignition coil

Step 1: Read the diagnostic fault codes
A diagnostic scan is usually the best starting point.
Modern engine-management systems monitor crankshaft speed closely enough to detect when a cylinder is not contributing as expected. When this happens repeatedly, the control unit may store a misfire code.
Common codes include:
- P0300: Random or multiple-cylinder misfire
- P0301: Cylinder-one misfire
- P0302: Cylinder-two misfire
- P0303: Cylinder-three misfire
- P0304: Cylinder-four misfire
- and, the numbering continues for engines with additional cylinders.
Some manufacturers also use brand-specific codes or provide more detailed misfire information through their own diagnostic systems.
A cylinder-specific code is useful because it tells you where to begin looking. However, it does not tell you which component has failed.
For example, a P0302 code could be caused by:
- The ignition coil on cylinder two
- The spark plug
- A damaged electrical connector
- A faulty injector
- An intake-air leak affecting that cylinder
- Low compression
- A mechanical engine problem
The fault code should be treated as a direction for further diagnosis—not a parts-ordering instruction.
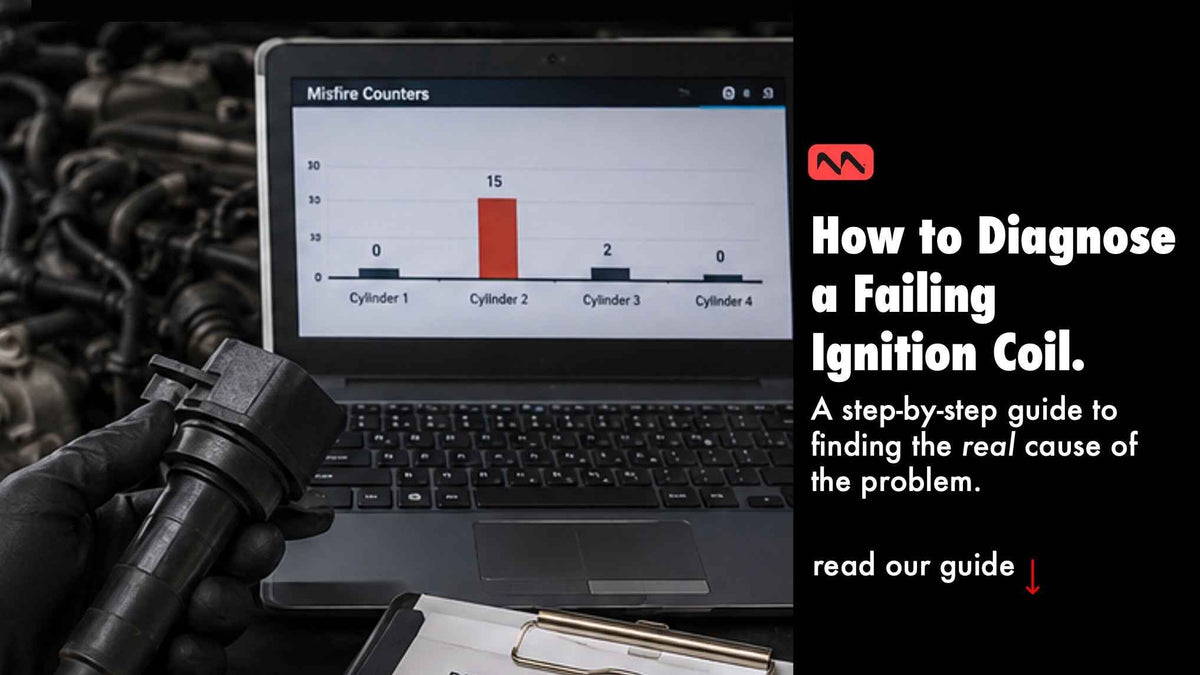
Step 2: Examine live misfire data
Many diagnostic tools can display misfire counters while the engine is running.
This allows the technician to see:
- Which cylinder is misfiring
- How frequently the misfire occurs
- Whether it appears at idle
- Whether it increases with engine speed
- Whether several cylinders are affected
- Whether the misfire appears only when the engine is hot
Live data can be especially useful where the fault is intermittent and has not yet triggered a permanent engine warning light.
A single-cylinder misfire may suggest a local coil, spark-plug, injector or compression problem. Misfires across several cylinders may point towards a shared electrical supply, fuel-pressure issue, air leak or incorrect engine calibration.
Step 3: Inspect the spark plug
The spark plug should be checked before condemning the ignition coil.
Look for:
- Excessive electrode wear
- An enlarged or incorrect gap
- Heavy carbon deposits
- Oil fouling
- Fuel wetting
- Cracked ceramic insulation
- Signs of overheating
- An incorrect plug specification
A worn or incorrectly gapped spark plug can increase the voltage required from the ignition coil. This may cause misfires under load and can contribute to premature coil failure.
The plug’s appearance can also offer clues about what is happening inside the cylinder. However, spark-plug interpretation should be carried out carefully, as similar deposits can have several causes.
Use the plug specification and gap recommended for the vehicle or its particular level of modification.
Step 4: Inspect the ignition coil
It's time to look more closely at the ignition coil. Remove the suspected coil only when the engine is switched off and the correct removal procedure is understood.
Check the coil body, boot and connector for:
- Cracks in the plastic housing
- Burn marks
- White, grey or black tracking lines
- Damaged rubber boots
- Corroded electrical terminals
- Broken connector clips
- Swelling or distortion
- Signs of overheating
- Oil or water contamination
Tracking marks can indicate that high voltage has escaped along the outside of the coil or spark-plug insulator instead of passing correctly through the spark-plug gap.
Not every internal fault will leave visible evidence. A coil can appear perfect externally but still break down when hot or under high load.
Step 5: Check the spark-plug well
Before installing a new coil, inspect the area in which it operates.
Look for:
- Engine oil
- Water
- Coolant
- Dirt or debris
- Corrosion
- Damage to the spark-plug tube
- Signs that the coil has not been sealing correctly
Oil may indicate a failed cam-cover gasket or spark-plug-tube seal. Water could have entered through engine cleaning, poor sealing or blocked drainage channels.
The contamination should be removed safely and its source repaired. Installing a new coil into the same oil-filled or water-filled well risks damaging the replacement.
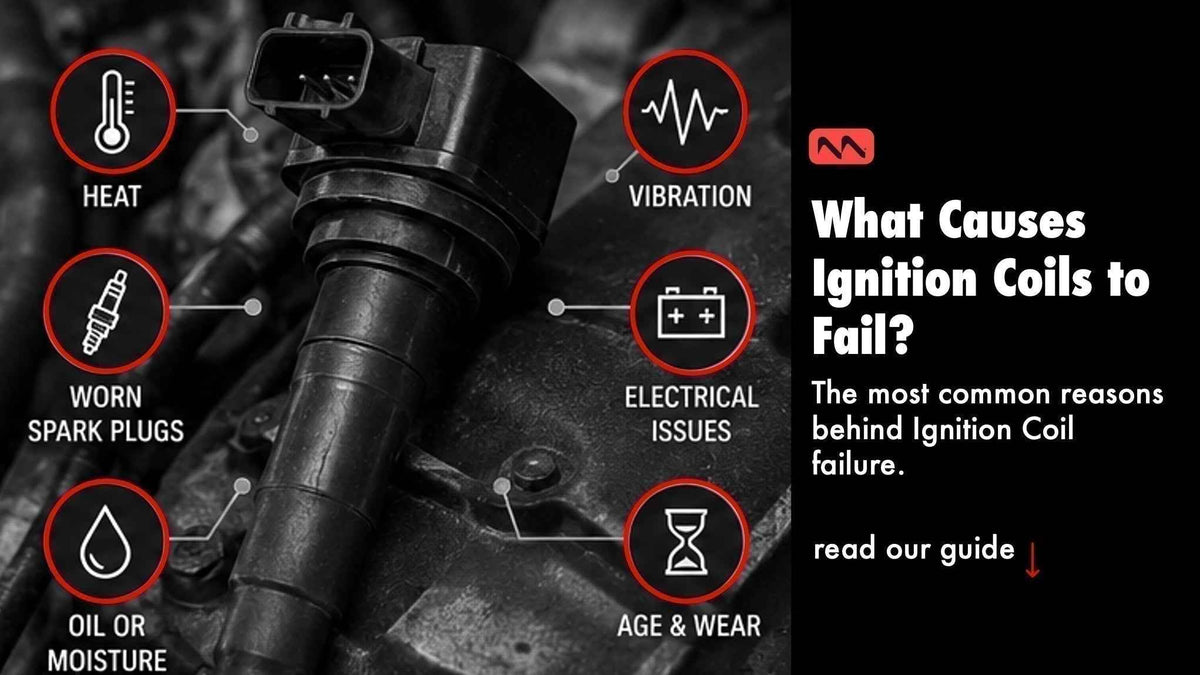
Read more: Common reasons ignition coils fail
Step 6: Swap the coil to another cylinder
On many coil-on-plug engines, moving the suspected coil to another cylinder can be a useful (and zero-cost) diagnostic test.
For example:
- A diagnostic scan identifies a misfire on cylinder two.
- The ignition coil from cylinder two is moved to cylinder three.
- The original cylinder-three coil is moved to cylinder two.
- The fault codes are cleared.
- The engine is run or driven again under appropriate conditions.
- The vehicle is rescanned.
If the misfire moves from cylinder two to cylinder three, the relocated ignition coil becomes a strong suspect.
If the misfire remains on cylinder two, the cause is more likely to be the spark plug, injector, wiring, compression or another cylinder-specific problem.
This test should only be used when:
- The coils are interchangeable
- The manufacturer’s procedures permit it
- The components can be moved without damage
- The vehicle can be tested safely
Do not repeatedly drive a vehicle hard in an attempt to reproduce a severe misfire.
Step 7: Check the electrical supply and control circuit
If the fault does not follow the ignition coil, the electrical circuit should be investigated.
This is now getting more challenging for a home-mechanic, so this could be the point at which you need to call in the help of the experts.
Depending on the system, checks may include:
- Power-supply voltage
- Earth or ground integrity
- Connector condition
- Wiring continuity
- Resistance in the circuit
- The control signal from the engine-management system
- Battery and charging-system voltage
These tests require appropriate equipment, experience and access to technical information. Connecting the wrong test equipment or probing the wrong terminal can damage the coil, engine control unit or diagnostic tools.
Where several coils are affected simultaneously, a shared electrical or control problem becomes more likely.
Step 8: Consider the fuel injector
A cylinder-specific misfire is not always an ignition fault. It's time to look into other areas.
A blocked, leaking or electrically faulty injector may cause the same rough-running and fault-code symptoms as a failed coil.
Injector diagnosis may involve:
- Listening for injector operation
- Examining electrical signals
- Comparing fuelling corrections
- Carrying out balance or flow tests
- Checking for leaks
- Inspecting the injector wiring
Where the coil and spark plug both test correctly, the injector should be considered before further ignition parts are replaced.
Step 9: Check engine compression
Things are now getting more serious. If the misfire remains on the same cylinder after the coil, spark plug and fuelling have been ruled out, the engine may have a mechanical problem.
Possible causes include:
- A leaking valve
- Piston or ring damage
- Head-gasket failure
- Valve-timing problems
- Excessive carbon deposits
- Cylinder-wall damage
A compression test or cylinder leak-down test can help assess the mechanical condition of the affected cylinder.
Replacing an ignition coil cannot correct a compression problem! Hence, this is why diagnosis should always extend beyond the most convenient component.
Step 10: Can resistance testing confirm a faulty coil?
Traditional ignition coils were often tested by measuring the resistance of their primary and secondary windings.
Modern coil-on-plug units now contain integrated electronics, drivers, diodes and suppression components.
A simple resistance test is therefore generally inconclusive or inappropriate.
A coil can also pass a static resistance check but still fail when hot, at high voltage or under cylinder pressure.
The most reliable diagnosis generally combines:
- Fault-code information
- Live misfire data
- Visual inspection
- Spark-plug inspection
- Coil-swapping tests
- Electrical circuit checks
- Oscilloscope testing where available
Always follow the vehicle manufacturer’s diagnostic procedures.
Final point: Diagnose first, replace second
An ignition coil is only one part of the combustion system.
The most effective diagnosis identifies which cylinder is affected, checks the spark plug and surrounding components, and confirms whether the fault follows the coil.
That approach avoids unnecessary parts replacement and helps prevent a new coil from being damaged by the same unresolved problem.
We've got further articles here to help you understand your car's ignition system - well worth a read if you want to get fully up to speed:
Read more: Eight Signs of a Failing Ignition Coil
Read more: Understand why ignition coils fail
At Mantis, ignition coils are our complete focus. Nothing else.
Our High Performance ignition coils are engineered as direct replacements for the original components, with no wiring alterations, adapters or software changes required.
Buy once, buy the best.

Leave a comment
All comments are moderated before being published.
This site is protected by hCaptcha and the hCaptcha Privacy Policy and Terms of Service apply.